
Replacing or installing new windows in your home can be a rewarding DIY project that not only enhances your property’s aesthetics but also improves energy efficiency and functionality. While window installation may seem like a complex task, with the right tools, materials, and a step-by-step approach, you can successfully complete the project. In this comprehensive guide, we will walk you through the process of DIY window installation, ensuring a smooth and cost-effective experience.
Step 1: Gather Your Tools and Materials
Before you begin, make sure you have all the necessary tools and materials at hand. You’ll typically need:
- New windows: Ensure you have the correct size and style of windows for your project.
- Measuring tape: Accurate measurements are essential.
- Caulk gun and sealant: For sealing gaps and preventing drafts.
- Screws or nails: To secure the window frame.
- Shims: For leveling and adjusting the window.
- Screwdriver or drill: To secure screws or nails.
- Utility knife: For removing old caulking and trimming shims.
- Safety equipment: Including safety glasses, gloves, and a dust mask.
Step 2: Prepare the Work Area
Clear the work area around the window, both inside and outside. Remove curtains, blinds, or any window coverings. If necessary, move furniture away from the window to provide ample space for work. Cover furniture and floors with drop cloths or plastic sheets to protect them from dust and debris.
Step 3: Remove the Old Window
- Start by removing the window sash (the movable part of the window) if applicable. Some windows have removable sashes that make the removal process easier.
- Carefully remove the window trim or molding using a pry bar or a utility knife. Be cautious not to damage the surrounding wall.
- Use a utility knife to cut through the old caulking or sealant between the window frame and the wall. This will help in freeing the window frame.
- Carefully remove the old window frame. You may need assistance, as windows can be heavy.
Step 4: Prepare the Opening
- Inspect the window opening for any damage or rot. Repair or replace any damaged wood.
- Clean the opening, removing any debris or old caulking.
- Ensure the opening is level and plumb, using a level and shims to make any necessary adjustments. Sliding or double-hung windows: which one is best?
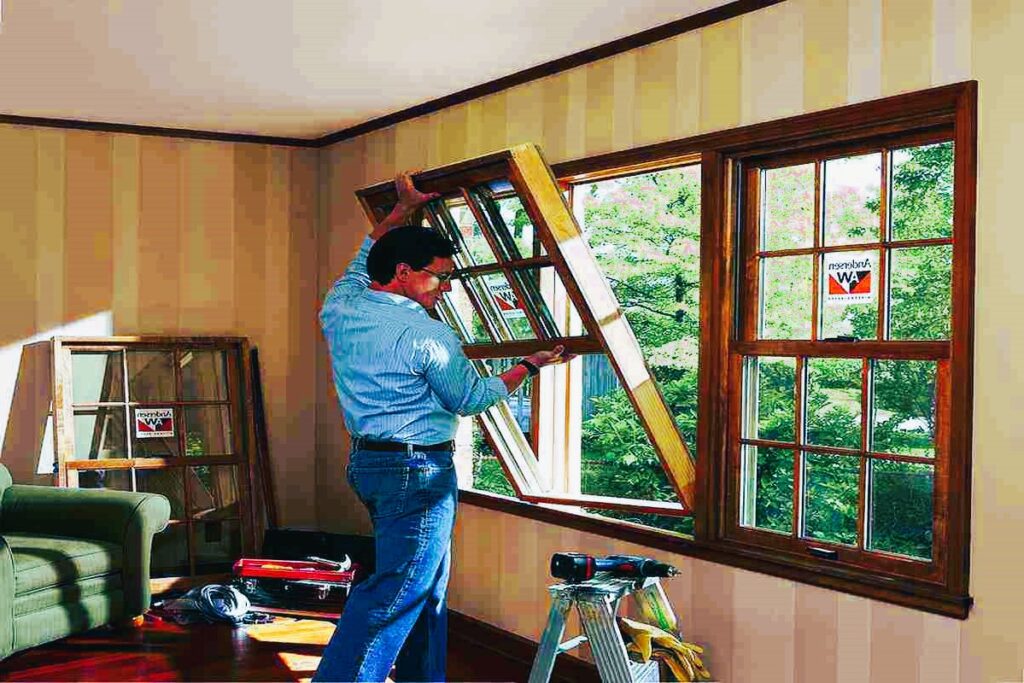
Step 5: Install the New Window
- Apply a bead of caulk or sealant along the bottom of the window opening.
- Carefully place the new window into the opening, ensuring it is level and centered.
- Use shims to make adjustments as needed to ensure the window is level and square. Place shims at the bottom and sides of the window.
- Secure the window in place by driving screws or nails through the frame and into the window opening. Be sure not to over-tighten, as this can warp the frame.
- Apply additional caulk or sealant around the outside edges of the window frame to create an airtight seal.
Step 6: Insulate and Finish
- Fill any gaps between the window frame and the opening with insulation foam to prevent drafts.
- Replace any interior trim or molding you removed earlier, securing it in place with nails or screws.
- Apply a final bead of caulk or sealant along the edges of the trim to create a seamless finish.
Step 7: Test and Clean
- Test the window to ensure it opens and closes smoothly.
- Clean the glass and the surrounding area to remove any fingerprints or smudges.
Step 8: Enjoy Your New Window
Once the installation is complete and the caulk has dried, you can enjoy your new window. Revel in the improved aesthetics, energy efficiency, and functionality it brings to your home.
Conclusion
DIY window installation is a rewarding project that can enhance your home’s appearance and energy efficiency while saving you money on installation costs. By following this step-by-step guide and taking your time to ensure precision and accuracy, you can successfully complete the project and enjoy the benefits of your new windows.
For more information on window installation and best practices, visit Canada.ca or explore the Wikipedia page on Window Installation. Remember to consult with professionals or experts if you have any doubts or questions during the installation process, and always prioritize safety when working on DIY projects in your home.